Showing posts with label crafts. Show all posts

Friday, August 23, 2013

Fabric Bunting

Hubby's out of town playing golf with college friends.
Baby fell asleep after only 1 minute of crying! (yay sleep training is working!)
And it's 8:54 on a Friday night, so I'm blogging.
Of course I have 1,000,304,204 photos of my boy I could post, but instead of trying to pick a small assortment of them, I thought I'd post about a craft project I did LAST year and never posted about :)  Timely.
 
My bestest friend had a sweet baby girl, last July.  As in the baby is now 1 year old.  I made this fabric bunting for her nursery before the baby was born.
 
The colors of her nursery are yellow, pink and blue. So I chose some fabrics in those colors with very slight patterns.  She already had a lot of pattern in the room and wanted this to be more subtle.  Since the fabric was pretty thin, I chose to use a white lining on the back as well.  Below are my supplies... fabric, lining, white grosgrain ribbon, pinking shears, and a triangle template I found online.  No clue where online, I made this LAST year.
 
 First I cut all of my triangles, making sure the pattern was going the appropriate direction.
 Then I IRONED the triangles!  This is a big deal because I never iron! But also it was important in an attempt to sew straight. (also something I never do.)
 Here is the basic idea that we're going for...
 I sewed the lining to each triangle then used the pinking shears to trim them up (because in some places the lining was showing along the edge.)
Then I laid out the triangles, placed the ribbon on top and pinned the triangles in place.  Then it was simply a matter of running the whole thing through the sewing machine along the ribbon.  Easy peasy.
 The finished product!  Somewhere in the archives of my phone I have a photo of the bunting in the nursery.  But it's Friday night and I'm not that motivated to find it.

I had some left over fabric, plus a bunch of fabric in similar colors from random crafts over the years, and I was inspired to make a mini bunting. (I actually like this one more and it was much easier to make).

Again, I cut out tons of triangles, using pinking shears and a template. Because the triangles were so small, they didn't really need a lining (yes, one less step!).  And because this was a mini bunting, I actually liked when the patterns went in all different directions for more interest. 
 Again, I ironed them all.

Then I stacked them by fabric.  I wanted a random order this time, so I just picked from different piles as I went.  I didn't use a fabric at all, just ran the triangles through the sewing machine.  Most of the time the triangles were touching at the corners, but if not, the thread was visible and that was just fine.
 Here's the bunting laid on the bed.
 And here it is hanging on the ironing board :)  (funny thing- this is now Caleb's nursery- my oh my how the room has changed!)  Funnier thing... I love bunting, I enjoyed making it, and I didn't make any for Caleb's room.  Is it girly?  Or am I just weird?
That truly was a fun and easy craft. I think I actually like the look of the mini bunting better than the large. It can hang on the wall or on the crib or on a window.  The options are endless. 

Ok- off to read and go to sleep. Because one thing I've learned as a mom, if the baby's sleeping, I should be too!

Saturday, May 12, 2012

A Cookbook

Last weekend I had the honor of being in a dear friend's wedding in Branson. It was awesome!

She asked me to be a bridesmaid right after she got engaged... only TWO months ago!  I knew the wedding was coming quickly and I wouldn't have any way to attend a shower in Branson or host a shower during the short engagement. So I decided to do a "shower by mail." Or really a "shower by email." 

You see my sweet friend has worked for the Kanakuk Institute for the last 10 years.  I think her official title is Dean of Women. But I have no clue. I just know that she supports, mentors, encourages, and loves all of the girls who attend each and every year.  That's how we met... I went to KI and she became a sweet friend.  Then after I graduated, I moved in with her.  And that's when I really, fully understood the depth of her love for food and cooking.

So... I emailed every girl who had ever attended the Kanakuk Institute and asked for recipes.  (Okay, I didn't personally send the email. I wrote it and a KI staff girl sweetly helped me send the email.)  And then the recipes started pouring in.  I think we ended up with about 90 recipes from 60+ girls. 

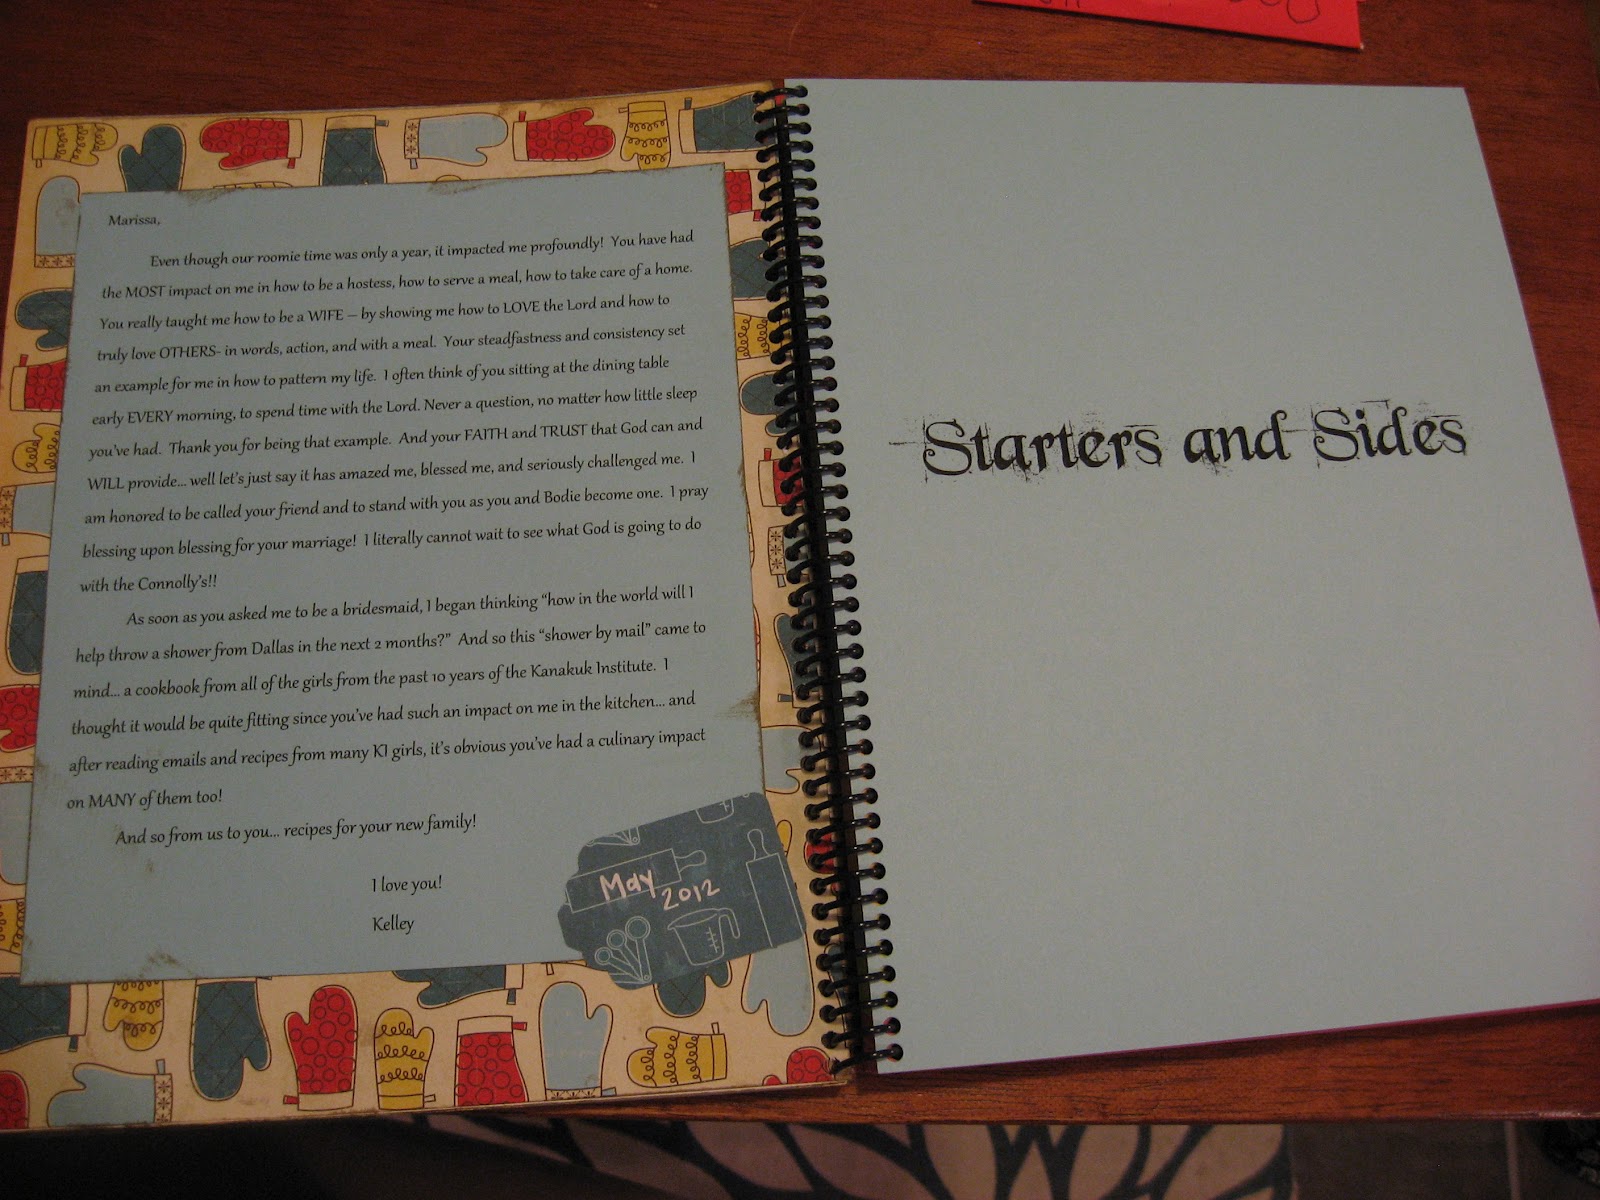
Then the fun part... scrapbooking the cover :)  Here it is... The Connolly Cookbook.


 Do you see the sweet scrapbook paper I found?  "1 cup of love"  "top chef"  and decorated with measuring cups and spoons and oven mitts. Precious!!  Do you also see how I need a real camera and not a dumb point and shoot that never wants to focus where I want it to?

On the inside of the front cover I wrote a note to my friend.  Then I separated all of the recipes by type... we had Starters and Sides
 Soups and Salads
Main Dishes
Desserts
and Breakfast and Breads

I found this cute stationary paper at Office Depot and printed each and every recipe on one of the pages.  Some of the girls went all out and added photos (like the one below), colorful and fun fonts, and sweet notes to our friend. (cannot get this photo to rotate. Ugh)
 If the girls just emailed the recipe to me, I copied it into a word document and then I changed up some of the fonts so that many of the pages looked different.  and of course each recipe included the name of the girl who sent it.
 I found this super cute paper too! Had to use it!  Inside of the back cover.
 And then the back cover matches the front.


I had it bound and covered with clear plastic at FedEx Kinkos for only $4. Sweetness.

I of course did my favorite scrapbooking technique on the covers and embellishments... antiqueing with ink. No clue how to spell antiqueing.

My friend was super excited about the cookbook! I was so happy to bless her and her new husband in the kitchen!  And now I have a plethora of awesome looking recipes saved in my email :)  Hoping to try some new ones soon!

Friday, January 13, 2012

Paint chip snowmen

I found this adorable craft on pinterest and we made them in class the other day. I forgot my camera, so I took some pics on my phone and now I'm trying to write my first post from my phone. Not sure if I can intersperse comments in between photos.

So let me tell you- I love the colors. I love the BIG noses that look like ducks. And I love the little boy who made his snowman look like himself- glasses and all.

Enjoy!

Wednesday, January 4, 2012

Antique Candle Holder... refinished

My sweet mama brought this gorgeous candle holder with her to give to me! I just love it!
 She found it in a good will or something for just a couple of dollars.  When she found it, it was brass, dingy, and yucky.
 But she is an artist. So she noticed the awesome lines and shape.  Things I forget to look for. I often can not get past the yucky, dingy part.
 She took it home, spray painted it with shiny black paint.  and voila! new life!  gorgeous! 
In the suit case some of the black paint started chipping off to expose the brass underneath.  Which is totally cute now that it's only being "exposed" and not "Fully brass."  It makes it "shabby chic" or whatever. 

Thanks mom!

Friday, December 16, 2011

Spiced up Votives

Again, I'm copying my best friend and her cool gifts to  me. But hey- isn't that the highest form of flattery?  Mindi dear- I hope you don't mind!

So... take some plain glass votives, some starbucks wrappers, and some paint chips (I chose red).
 Lay out the wrapper...
 Draw straight lines on the curved wrapper. I used a ruler and traced both sides for even thickness on each candle.
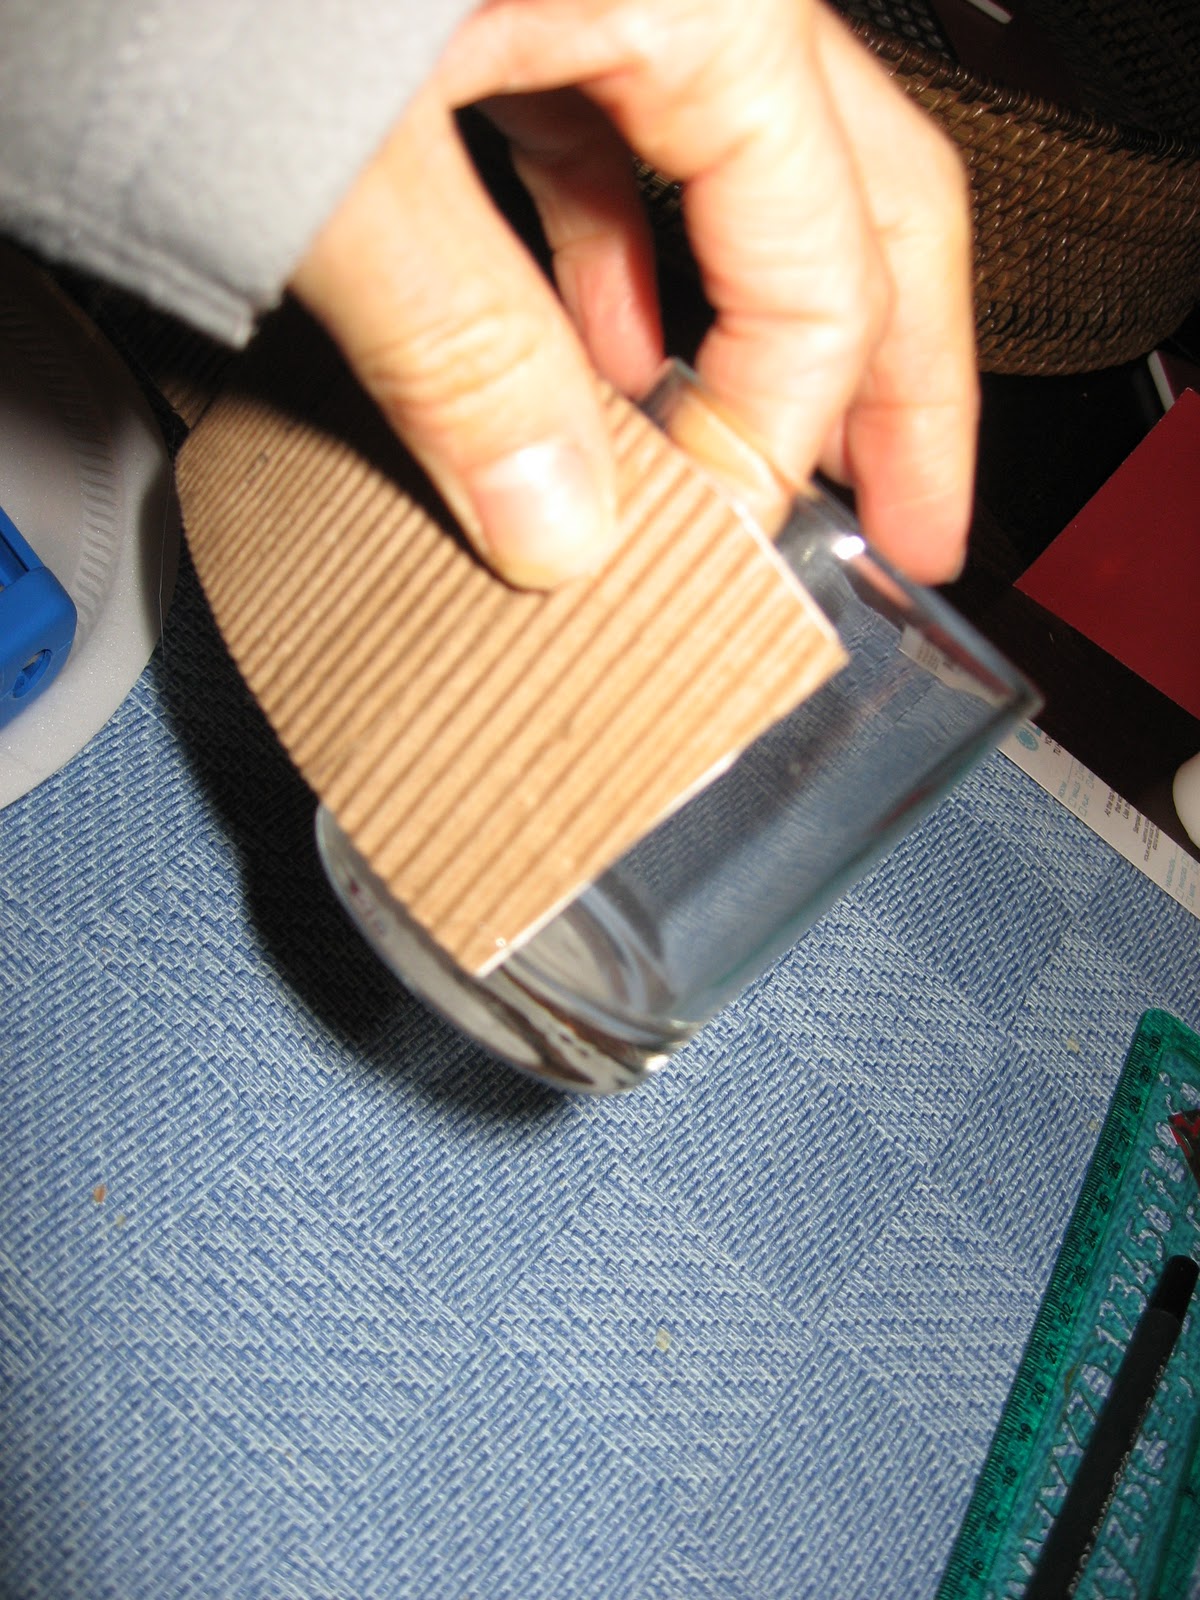
 Wrap it around the glass votive to figure out the necessary length.
 Next, realize that you can see the Starbucks lady through the glass.  Be very glad you didn't glue it on yet.
 Use the (free) paint chip to cover up the lady.  Glue it on the back of the wrapper, trim the excess.  And be glad you have the excess to finish up the end of the wrapper. (Please do not take notice of the terrible quality of photos and lighting. It is night time.  I don't have a $1000 camera)
 Now, start wrapping again, but this time start with a line of hot glue.
 Use the hot glue again on the other side.

Admire your work and the pretty red interior.

Tie on some green raffia to complete the Christmas look!

The whole set all together!


These were so simple to make and with almost all free supplies.  But, Mindi gave me a set of them last Christmas and they are seriously my favorite candles!!  Enjoy!

Thursday, December 15, 2011

Handmade Christmas Gift

Tomorrow is the last day of school before Christmas break!  This means that I am more busy this week than 90% of the school year!  The very first month of school and the last week of school are equally busy.  But I can't complain too much... since most of the year is pretty steady and then we do get the whole summer off :)

Anyway, I am trying to quickly get together a few gifts for my co-worker!  My sweet kindergarten teaching partner has been such a blessing this year!!   And, thanks to pinterest, I am all inspired to do handmade this year!!  Both gifts that I made for her are pretty close replicas of ones I was given last year (by my dear dear dear friend who I miss seeing every single day!)


Tote Bag... started out plain and simple
 I wanted to make Ashley Ann's version... and I have a few totes left, so I still may.

But I went even more simple, yet super cute...
 I wrote "teach" in cursive in pencil. Then went over it part by part in glue (Alene's tacky glue)  and then put on turquoise sequin ribbon.
 This photo is without the flash so you can get a better idea of the color.
I think it turned out super cute!  I may make another just like it!  Or make one like Ashley Ann :)

Friday, September 4, 2009

Bathroom Mirror Update

Remember when I went to Canton to buy a bathroom mirror and came back with a cool wall hanging?? And then I found a mirror at Marshall's? well, only a month later, and I finally got around to putting it together.

looks good doesn't it?
Except for in the back. Uh Oh! The nail was coming through too far. It would have hit the wall. Good thing I had a thick towel underneath it as I was screwing in the screw. I could have really done a number on my wood floors. Whew. My heart skipped a beat when I first picked it up and saw the screw sticking out!
So after another trip to the hardware store... (seems like I have to go multiple times for any 1 project.) We have this on our wall....


And a few other decorating touches in the bathroom. Cute garden basket from hobby lobby with reading material. (the Sein-Language book is my fav)

The cute little basket to hold extra toilet paper.

And I'll leave you with one more view of my new mirror. I'm so proud of the fact that it's actually on the wall now! yea!! My bathroom is complete!
Wait a minute... no it's not. I need to hang some cute decorations and put up some curtains or shutters or something. but at least it has a mirror.